
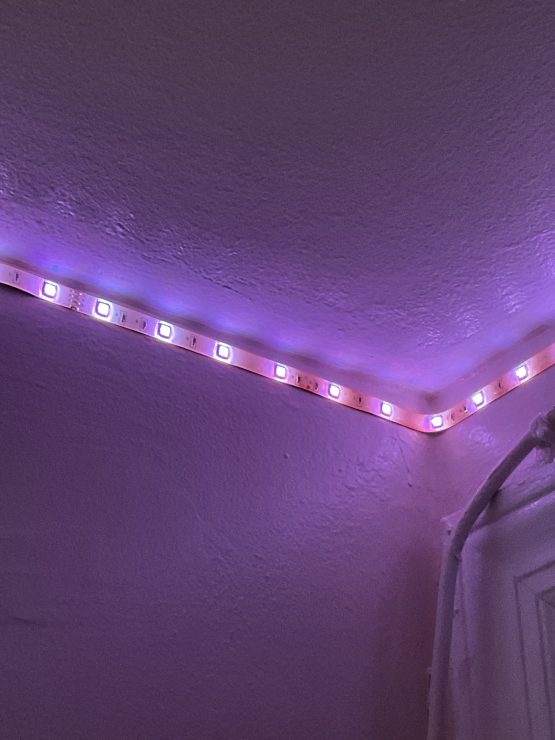
Philips Hue’s light strips are one of the easiest and most fun ways to add a dazzling pop of color and festivity to your home and entertainment system. But you can only enjoy them if you can keep them on the wall – not hanging off, or even worst, on the floor!
One key to making sure this doesn’t happen is to pay keen attention to the mounting process. The adhesives that come with Philips Hue’s Light Strips have proven to be, well, less than adequate at keeping your light strips where you want them. But if you’re not using their adhesive, what are your alternatives?
What are Philips Hue Light strips?
Philips Hue is a household name known for making a wide variety of smart home light bulbs in varying sizes. In addition to those bulbs, however, Philips Hue also makes LED light strips. These light strips come in different lengths, as well as versions that can be used inside as well as outside of your home.
The indoor strips come in two versions. There’s the classic Light Strip Plus version that can display an almost infinite array of colors.

The other version is Gradient light strips, which allow color and white to be displayed at the same time, giving your home decor extra dimension and character. These are especially good stuck behind a TV, and paired with Hue Sync. The gradient light strips can only be used indoors, there’s no outdoor version available.
The indoor light strips come in 75 – 80 inches and can be cut to size, or to attach them to an extension kit, sold separately. This enables them to suit whatever space you plan on putting them in.
When it comes to the outdoor strips, these can be purchased in two lengths, 80 inches, and 197 inches, for maximum customizability. They’re weather-resistant, as long as the temperature doesn’t fall below -4 degrees Fahrenheit or above 113 degrees Fahrenheit.
Because of this, they cannot be cut. Cutting would negate the weather resistance, and render them useless. If you need to extend your outdoor strips, you would simply need to place another set next to them.
The indoor Philips Hue Light strips need either Bluetooth or the Hue Bridge in order to function. You get the most options and customizability when using the Hue Bridge. The outdoor light strips, however, do require the Hue Bridge.
So now that you’ve chosen the Philips Hue light strips that suit you best, next, it’s time to mount them.
How Philips Hue Light Strips are Mounted
Philips Hue light strips come with different mounting options, depending on whether they’re the indoor or outdoor varieties.
Indoor light strips use an adhesive that’s on the back of the strips themselves.
To mount them, you’d first clean the surface with something that will remove all dirt and oil. Rubbing alcohol is a common cleanser as it removes dirt and oils very effectively, leaving you a completely dry surface for your light strips.
Once your surface is clean, you’ll then peel back the strip of paper covering the adhesive on the back of the light strips, and firmly press them to the area you want them. Make sure they sit nice and flush to the wall and into corners.
When it comes to the outdoor strips, mounting doesn’t involve adhesive. Not only are the strips too heavy for adhesive, but the adhesive would likely weaken and be rendered useless if it rains. Instead, the outdoor strips come with hardware and hooks. You screw these hooks in so that you can mount the light strips to your deck, or any other surface of your choosing.
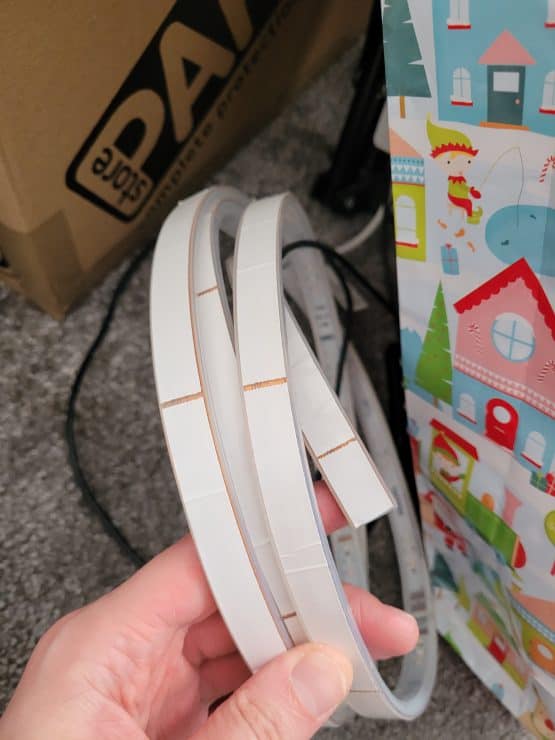
Finally, Philips Hue’s TV and PC monitor Gradient Strips come with their own self-adhesive plastic routing ‘clips’ that you thread the bendy gradient strip around:
However, even though Philips Hue provides these mounting methods and materials, they’re not foolproof. In fact, many people have complaints about their effectiveness and longevity:
- For example, when it comes to the indoor light strips, the adhesive isn’t as strong as it needs to be. After a while, light strips begin peeling off the wall or wherever you had them put up.
- When it comes to the outdoor light strips, the hooks are known for being more stable, but that doesn’t mean they don’t occasionally fail as well. Over time, sometimes these hooks fall out, or the light strips themselves never stay securely in these hooks.
So if these options that Philips Hue provides don’t work, what will?
Alternative Methods for Mounting Philips Hue Light Strips
Sometimes, even with the best intentions, the adhesive provided by light strips manufacturers, including Philips Hue, doesn’t always work. Over time the adhesive may weaken, causing light strips to peel from the wall.

To that end, here are a few methods that can help prevent this from occurring.
Indoors: Adhesive
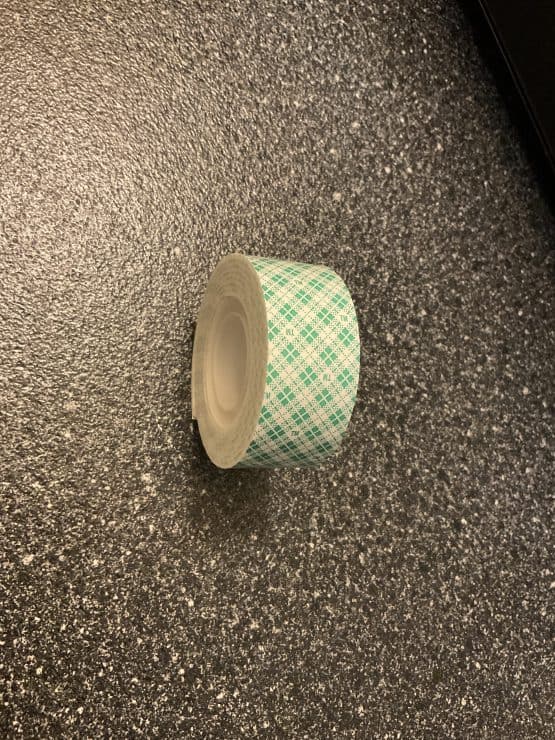
One solution to subpar adhesive, is to use a 3rd party adhesive for mounting indoor Hue Light strips.
it’s a good idea to purchase an alternate adhesive, such as 3M double-sided tape.

This will be placed along the length of your light strips, so you’ll need to measure your light strips in order to be sure you have enough to go the entire length.
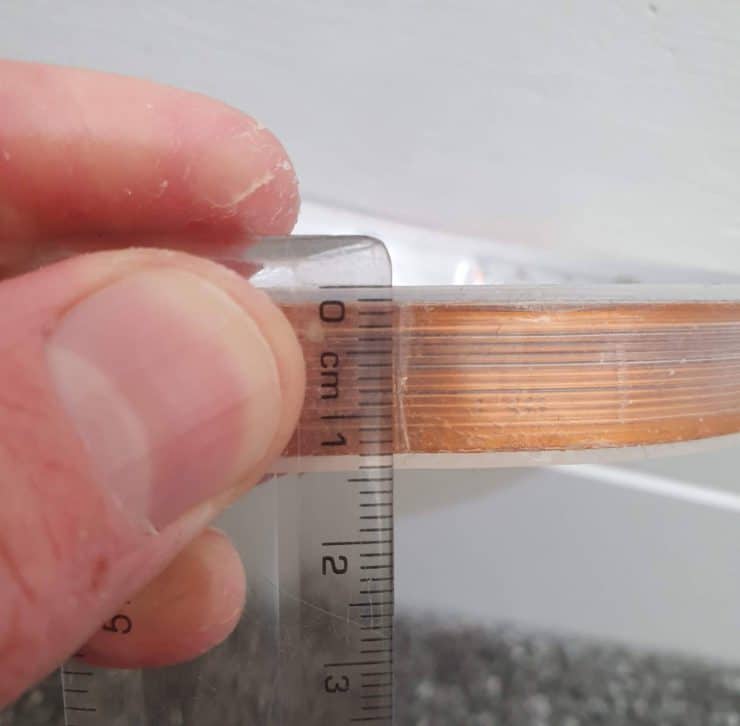
At about 1.5 cm (or a little over half an inch), Philips Hue’s light strips tend to be wider than most light strips. Take this into account when choosing the double-sided adhesive you’ll be using.
If you can’t find one that’s the same width as the light strips, try to get as close as possible for the most secure fit.
After you’ve measured your light strips and found the adhesive to your liking, you’ll then begin affixing them to the back of your light strips. Now, you have two options here.
- Remove the paper from the light strip’s existing adhesive, then stick one side of your new adhesive to the existing adhesive. The existing adhesive will stick better to the backing of your replacement adhesive than it would to your wall.
- Remove the existing Hue Light strip adhesive, then replace it with the new adhesive strip.
Both methods have been met with success. After making sure where you’re placing the light strips is clean and free of dirt, oils, and debris, you can then begin putting your light strips where you want them to go.
It’s important not to stick the strips on textured walls or wallpaper. No matter what adhesive you use, textured walls don’t provide enough surface area for secure adhesion. And when it comes to wallpaper, if you plan on removing it in the future, the wallpaper may be ripped from the wall.
Outdoors: Separate Clips
Philips Hue’s Outdoor Lightstrips come with their own clips, which you screw into position – and the Lightstrip then clips onto them:
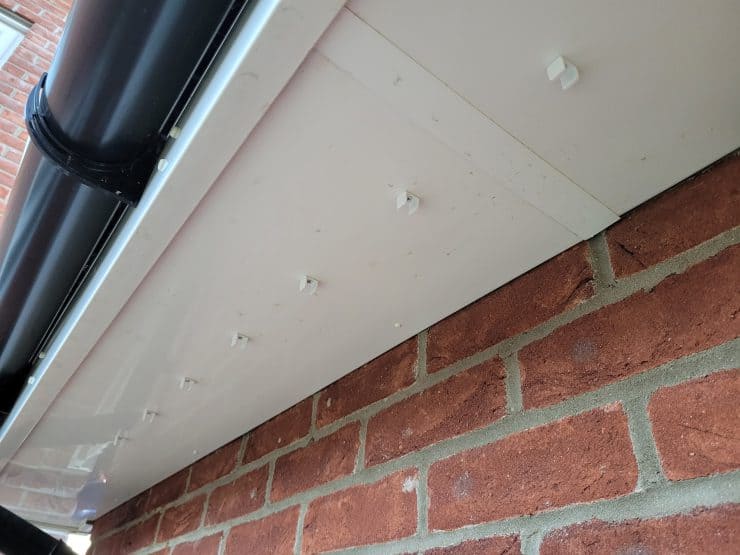
Trouble with Philips Hue’s outdoor mounts and clips is less common – but isn’t entirely unheard of. When putting their Philps Hue light strips outdoors, the problem isn’t typically screwing in the clips, it’s getting their light strips into the clips – and getting them to stay there. Fortunately, you have options.
One option is to purchase separate clips. Home Depot or Lowe’s sells a variety of clips comparable to the ones that come with Philips Hue, but in varying sizes. These are fortunately available at a low cost – anywhere from $3 – $10, depending on what you decide on.
If you want to avoid the hassle of a lot of back and forth trips, bring the light strips and a clip or two with you to compare in the store. Compare the size with the light strip and the other clip to see which would fit better.
Indoors And Outdoors: Aluminum Channels
Another option is using aluminum channels. This option could be used either outdoors or indoors. You would first place these channels along where you want to place your lights. The strips would then fit into these channels securely, getting rid of the need for brackets that may or may not do the trick.
This approach also has the benefit of diffusing the individual LEDs, preventing an issue known as “light bumps” from appearing:
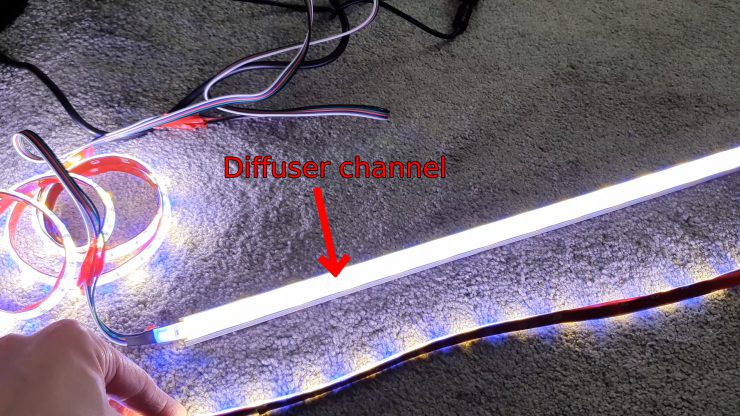
You can see this approach in the below YouTube video:
One thing to bear in mind here, though, is that Hue’s lightstrips are slightly wider than average at 14mm (9/16″) – so make sure that the aluminum channel you purchase is wide enough:
Alternative Light Strips
There are many brands of light strips available that are comparable to Philips Hue’s light strips.
Govee, for example, has light strips that are even able to achieve the gradient effect and display more than one color. They also come in a variety of lengths, and some can even be used outdoors.
For a slightly higher price tag, though not as high as Philips Hue, LIFX also offers great light strips. None of these are rated for outdoor use, so this can be a drawback. But if you don’t need them outdoors, they’re a great option. LIFX light strips can also be cut and bent to fit wherever you need them to.
Kasa is yet another option, though they also don’t have lights specifically for outdoor use. Just like LIFX, these can be cut so that you can size them to your liking. They have 16 zones of lighting, giving you the ability to create a variety of color scenes.
It’s to be noted, however, there’s a good chance that the adhesives for these would also need some upgrading. But being they cost less than Philips Hue Light strips, it might not seem like much of a sacrifice.
The Perfect Mount
Light strips are a colorful and fun way to add color to your home decor, entertainment system, and even outdoor patio. But for this to work, they actually have to stay where you put them.
To that end, you may have to explore different mounting methods, such as adding a stronger adhesive to the backing of indoor strips. This will prevent them from falling off, but not too strong that they’ll damage your walls in the process.
When it comes to outdoor light strips, using different clips or even aluminum channels are viable options. These methods will help keep your lights secure, enabling you to enjoy them for years to come.
Hello Yvette, your article does a great job to inform the new reader about lightstrips on what to expect during the mounting phase. I though I would suggest the next step… Which is what I could benefit from… I need to identify different model numbers of either clips or channels I can use with the lightstrips. I have all 3 models: Regular, Ambience Gradient, and Outdoors. I need to find channels or clips for all of it. I am still researching and nothing came up yet. However, if you can gather that information and update your article I bet it would have a lot more hits and people would really appreciate the research.
Just a thought.
Cheers,
Alex da Silva
Hello Alex da Silva,
Thanks for the comment and suggestions, you’re right that giving specific clips/channel model numbers could be useful. I’ll have a dig around.
In the meantime, though, what I would say is that you should not need aluminium channels for your Gradient or Outdoor light strips. They already come with ‘built in’ channels (I have all three Hue Lightstrip types too).
In terms of mounting these, the Gradient strips come with their own stick-on ‘clips’ that help you route the Gradient strip around your TV or monitor. You can see this here: https://www.smarthomepoint.com/wp-content/uploads/2023/02/The-various-self-adhesive-plastic-routing-clips-for-the-Hue-Gradient-PC-monitor-system.jpg
The Outdoor Hue strips also come with their own clips, which we touch on in the article, but here’s a picture of them for reference: https://www.smarthomepoint.com/wp-content/uploads/2023/02/The-mounting-clips-for-the-Philips-Hue-Outdoor-Lightstrip-scaled.jpg
Anywhoo, you might know some of that already – apologies if so. We will circle back to this article to provide some more detailed information in due course.
Thanks again!
Tristan